Table Of Content
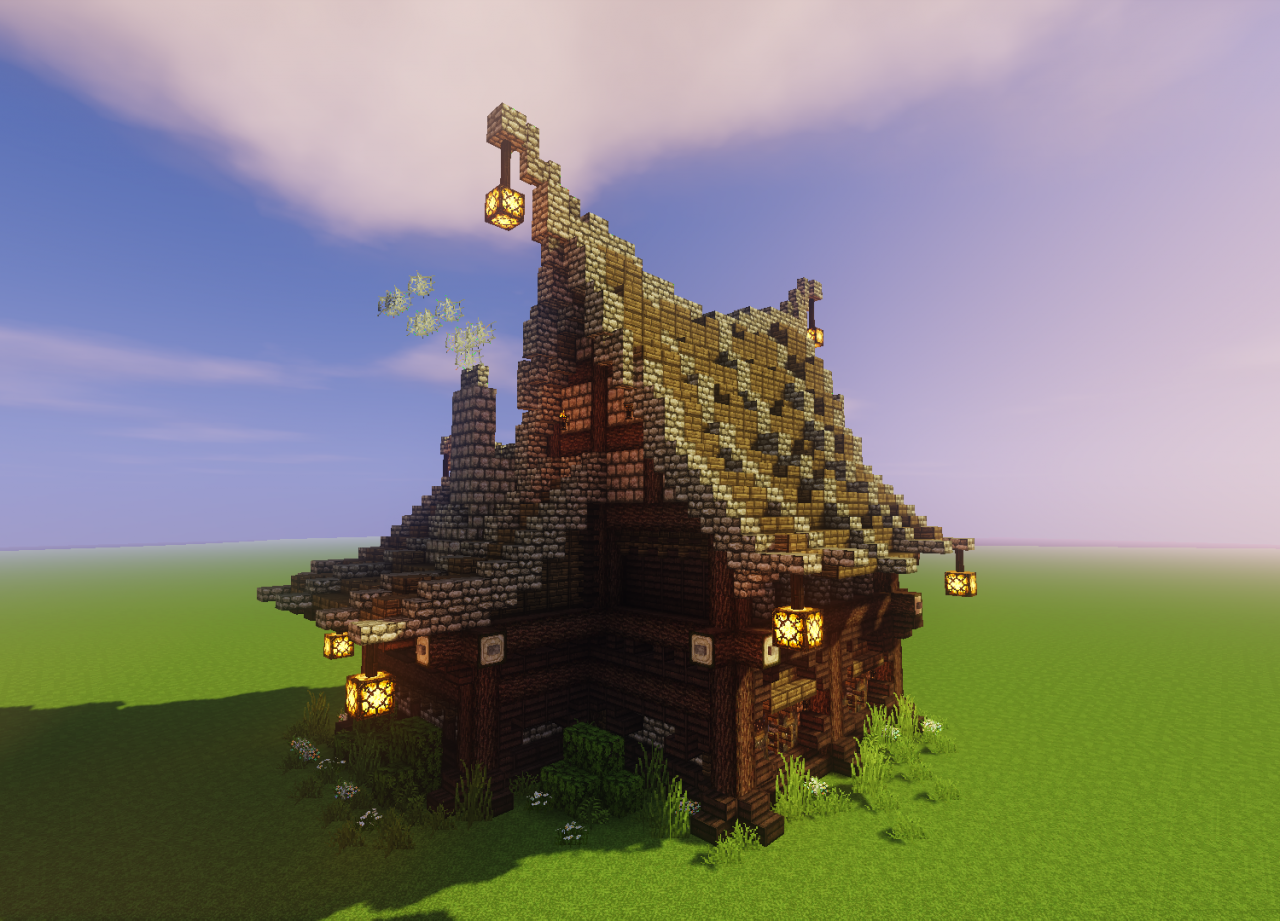
Follow the pattern of the roofline and place the dark oak planks and dark oak stairs, leaving 3 blocks open as shown in the photo above. If you’re ready to go medieval, you’ll love checking out these Minecraft medieval build ideas for your village. You’ll find mostly medieval houses, but there are other structures too. Use cracked stone bricks, stone brick stairs, and wooden trapdoors to add decoration to the outside of the house. I use glass panels for all the windows in the walls - they add a little depth.
Minecraft Redditor creates a survival medieval city after putting in numerous hours - Sportskeeda
Minecraft Redditor creates a survival medieval city after putting in numerous hours.
Posted: Mon, 07 Mar 2022 08:00:00 GMT [source]
Build-A-Tool Contest
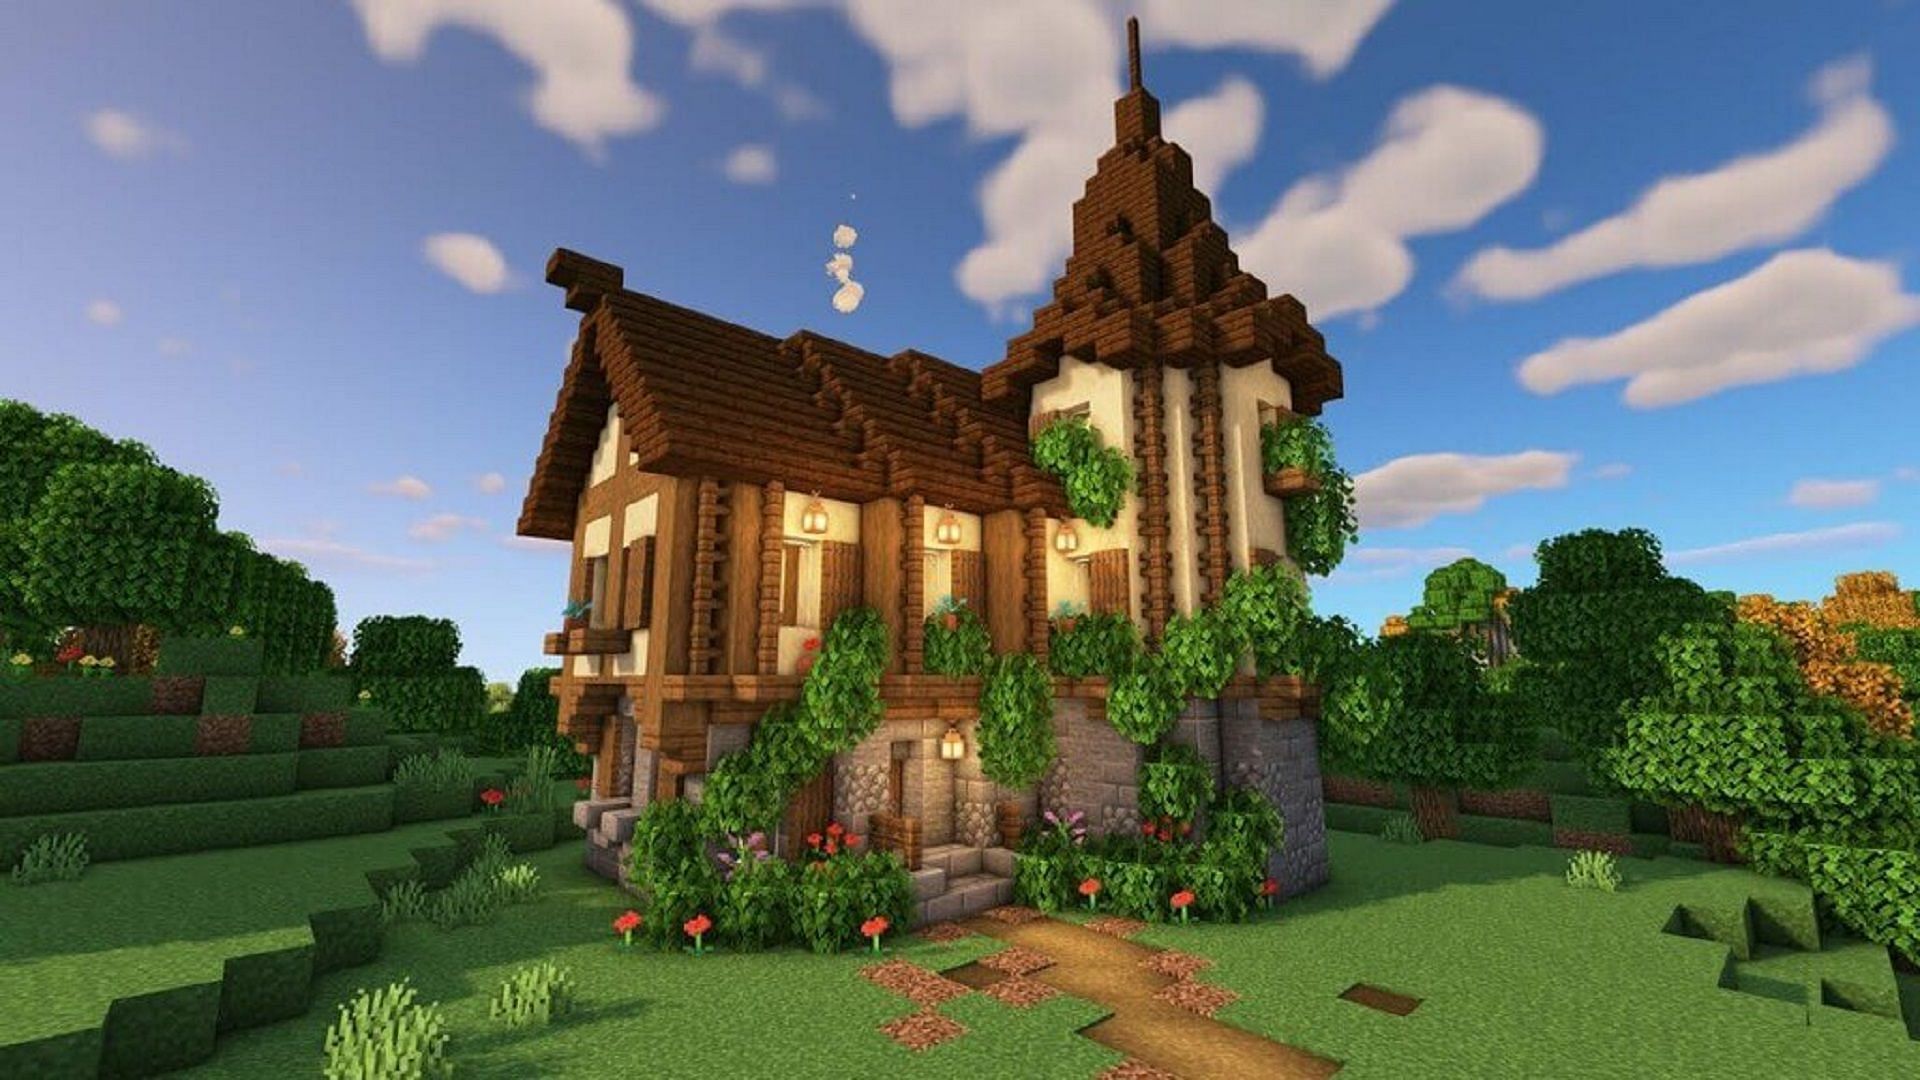
I keep tools, mob drops, building supplies, wood and farming stuff in here. Oak trunks are used for the supports - stack them 5 high and then connect them so the frame is 7 wide and 11 long. Build something unique with this large medieval house. You can see the house from different angles by visiting Dr. Red Builds. Granted, this will definitely take some patience to build, but the time will be worth it. Check out the YouTube tutorial on How to Build an Epic Castle.
Step 11: Build the Balcony
Wrap spruce trapdoors on the stripped spruce log on the first and third block. Place lanterns at the top and bottom corners of the roof. On the other side of the house, repeat the same steps like you did on the other side of the house. For the front around the door, I used oak wood and iron bars to make it more interesting.
5 best Minecraft houses as of November 2020 - Sportskeeda
5 best Minecraft houses as of November 2020.
Posted: Wed, 11 Nov 2020 08:00:00 GMT [source]
Introduction: How to Build a Medieval House in Minecraft
On the sides of the house, continue building three blocks high with a combination of stone bricks, mossy stone bricks, and cracked stone bricks. Leave two columns empty as shown above for the windows later. For the walls, build three blocks high with a combination of stone bricks, mossy stone bricks, and cracked stone bricks. Leave the middle section empty for the door later.
(for the finished photos) Both are 64x and AWESOME. I think that this is such a great farmhouse build. To break up the roof and let in a little extra light, I added six windows on each side. These have glass blocks in them instead of panes.
These Minecraft medieval build ideas should give you a good starting point for your own village. I brought the side supports in one block - that way it frames the enchanting half of the room nicely and allows for an easy ladder to the top floor. Begin by placing an oak trunk outside of each corner and building up five blocks high. Connect the trunks all along the bottom of the frame. No medieval village is complete without a firewatch tower. Blockdown Builds did an amazing job with this build.
Medieval House Minecraft Maps
This ocean castle by @blockdown_builds is so unique and creative. You will love showing off your castle in the ocean. On the 4th row above the stone bricks, add smooth sandstone. This is the way I've had mine set up - in my survival house I've had to add more chests further up the wall.
Step 12: Add Roof Windows
Now place four more trunk blocks in the middle of each side so they're level with the corners. There currently isn’t a video tutorial for this spruce lodge; however, if you visit @cryptozoology.yt on Instagram, you can view the back of the lodge. Visit @craftaces to learn the details of how this cool and unique crane was brought to life. This is definitely the ultimate castle build from @meuc.mc. Building a castle of this size takes time, but the reward is so worth it.
Spruce Medieval House 6
On top of the upside down dark oak stair, place another dark oak stair with the back facing the front of the house. You will have to place an upside down dark oak stair in front of the dark oak plank behind it. Place stripped spruce logs in front of the stone bricks to create more depth. Follow the pattern shown above and repeat the same step for the back of the house.
Bring the plank and stairs out one block, and then add an upside down stair to the bottom of the each of the blocks. On top of each acacia plank block you placed, you're going to place an acacia stair. Carry the planks and stairs along the length of the roof on both sides.
This is what your roof should look like with dark oak stairs, dark oak planks, and dark oak slabs. The placeholder polished granite demonstrates the roof outline where you’ll be using dark oak stairs and dark oak planks. I also added a staircase using stone brick stairs. (You can see the correct placement in the photos!) I dug one block down on the main floor and replaced the dirt with the planks for that floor. The second floor just has birch planks laid into the second floor frame. Learn how to build a simple medieval starter house in Minecraft with this easy step-by-step tutorial!
NOW IT'S ALL IN ONE PLACE AND SEXY AS ALL GET OUT. We're a community of 4.4 million creative members sharing everything Minecraft since 2010! Even if you don't post your own creations, we always appreciate feedback on ours. This is actually the center of a town built by @waowitskale. This reference is great for anyone looking for town ideas.
If you need a place to keep your horses, you’ll love this stable. You can watch the tutorial for How to Build Horse Stables in Minecraft. Place an upside down stone brick stair and mossy stone brick stair combo on the top and bottom of the window openings for each side of the house. Then, place an oak trapdoor to complete the window. Build the roof frame by creating four more layers of support above the second floor. Use the photos as a guide - each level is two blocks high.


No comments:
Post a Comment